
In this article, we'll delve into the process of linking Microsoft Teams to an AWS SNS Topic. First things first, what exactly is an SNS Topic? Simply put, an SNS (Simple Notification Service) Topic serves as a communication channel that distributes messages or notifications to multiple subscribers. It acts as a central hub, allowing various systems or endpoints to receive pertinent information, making it incredibly versatile for sending updates, alerts, or notifications in real-time.
Use Cases for SNS Topic
- Alerts and Notifications: Imagine receiving critical system alerts, application updates, or status changes directly in your Microsoft Teams channel.
- Event Notifications: Get notified about important events such as system failures, new user registrations, or updates to a database.
The most straightforward method to receive SNS notifications in your Microsoft Teams channel is by assigning a unique email address to your channel. This involves accessing your channel's settings, clicking on the three dots next to the channel name, and selecting "Get email address."
However, why settle for the easy route when you can add a touch of coding and have some fun with AWS Lambda functions? Below, we'll explore how to craft a hook endpoint for your Teams channel and create Lambda functions to utilize Python requests for sending messages. Additionally, we'll configure these Lambda functions to subscribe to an SNS Topic, enabling seamless integration between AWS and Microsoft Teams.
Step 1: Setting up an SNS Topic
Now that we understand the power of an SNS Topic, let's dive into the first step of linking Microsoft Teams to AWS. Creating an SNS Topic is the gateway to distributing messages or notifications to multiple subscribers effortlessly. This enables you to receive critical alerts, system updates, or event notifications directly in your Microsoft Teams channel.
Login to your AWS console and navigate to the SNS service page. On the SNS service page, click on Topics in the left panel.

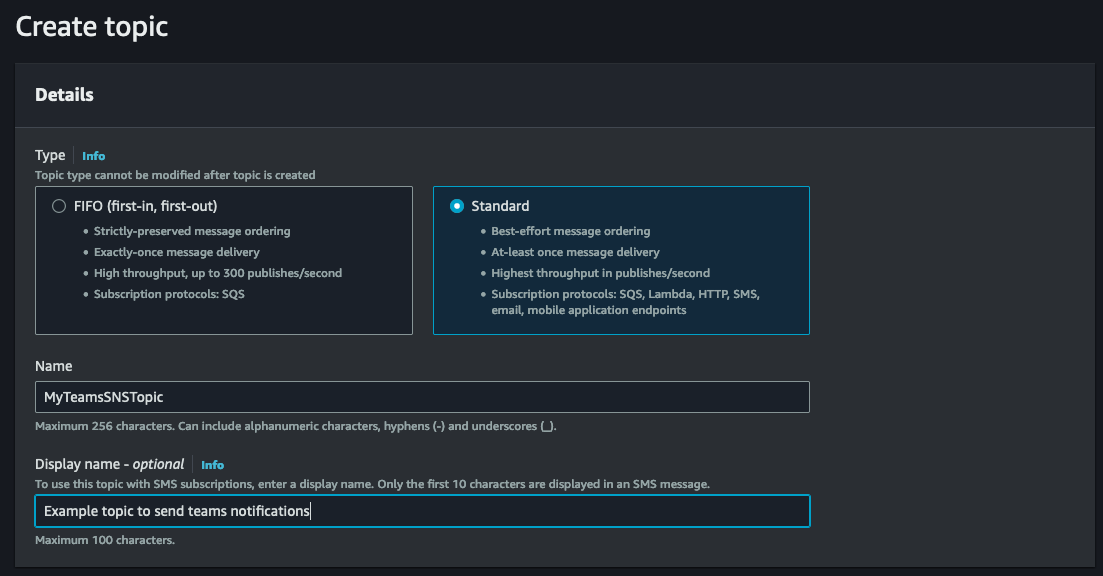
Click on the yellow 'Create topic' button to create a new topic. Once the Create topic page opens, select a Standard SNS Topic. Only the Standard SNS Topic is able to integrate into services such as Lambda, SMS, Email, and other protocols. Give the topic a descriptive name and optional display name.
Once the topic has been created, we are ready to create a Lambda function.
Step 2: Lambda Function and Layers
To ensure that the SNS topic notifications can be successfully sent, a Lambda function is required to make an HTTP POST request to the Microsoft Teams webhook URL. This Lambda function should be equipped with a Layer that includes the python requests module. Assuming you already have a ready-to-use layer, you can proceed with the integration. However, if you still need to create a layer for the python requests module, you can refer to our previous article on "Creating an AWS Lambda Layer for Python Requests Module".
In your AWS console, navigate to the Lambda service page and create a new Lambda function.
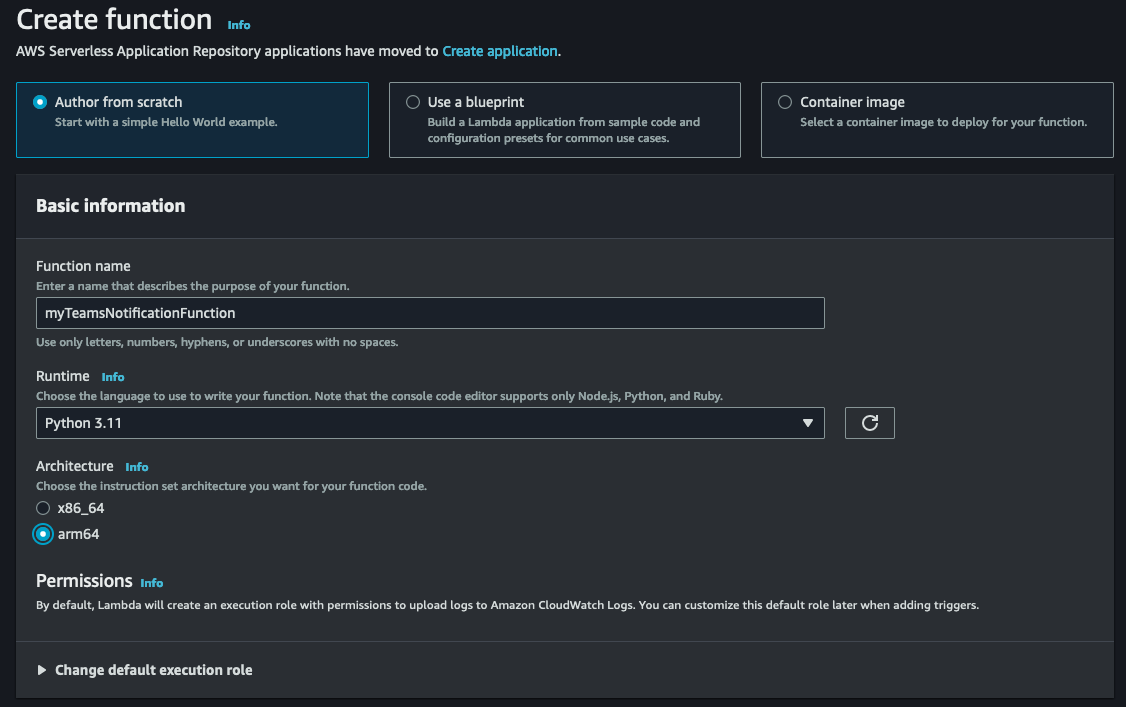
We will select Python 3.11 as our runtime and arm64 as the architecture. We recommend using arm64 as the primary architecture due to better cost-performance compared to the x86 counterpart unless there is a technical requirement to use x86.
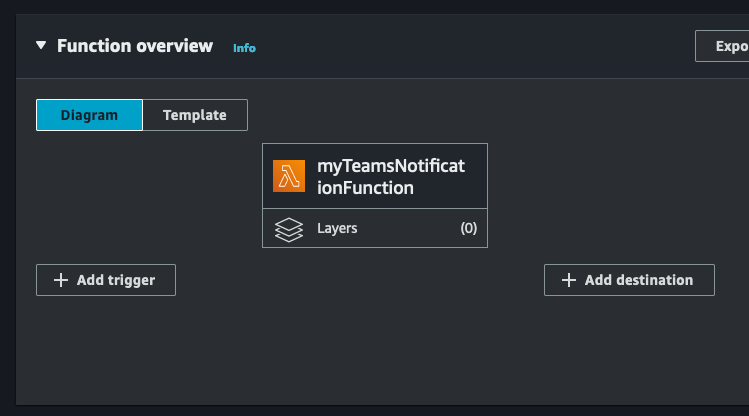
Once the function has been created, click on 'Layers' just under the function name. Your browser should scroll to the Layers section of the Lambda function.

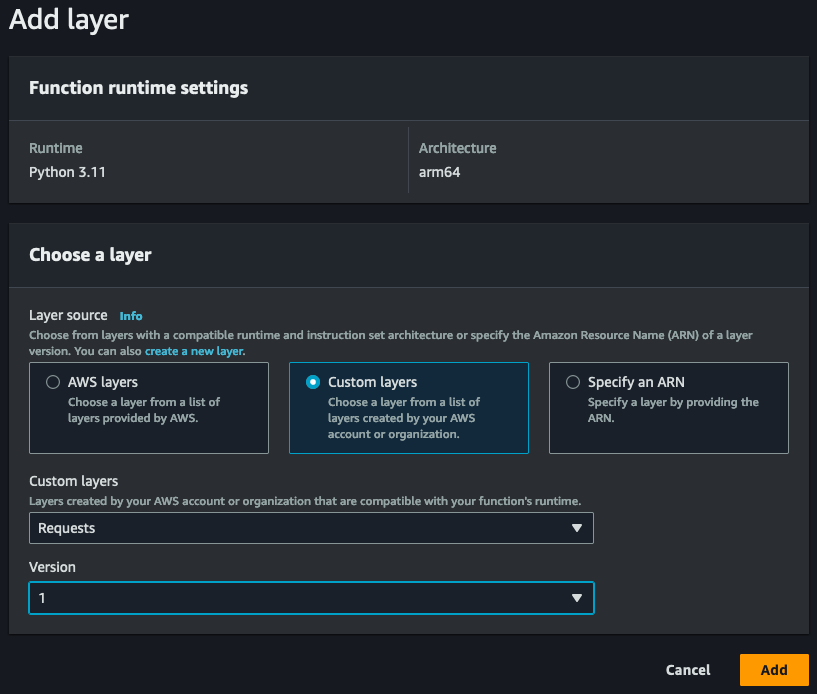
Click on 'Add a layer', and select the Python request layer you created.
Once the Layer has been added, we can then create a MS Teams webhook URL and write some code for our Lambda function.
Step 3. Microsoft Teams Webhook Connector
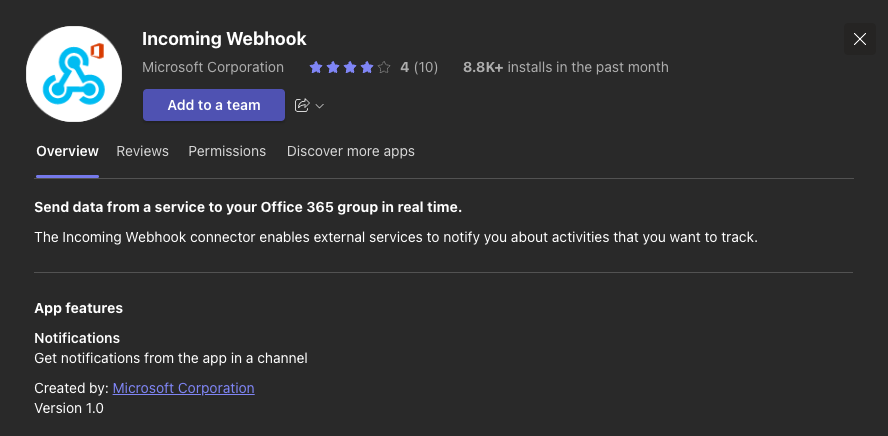
For the Lambda function to successfully send notifications to you Microsoft Teams channel, you will need to install the Microsoft Teams Incoming Webhook connector in your channel.
You can find the Incoming Webhook connector under "connectors" in Teams (classic) and under Apps for the "new" Teams.
Once the Incoming Webhook has been added to your Teams channel, you will need to configure it.
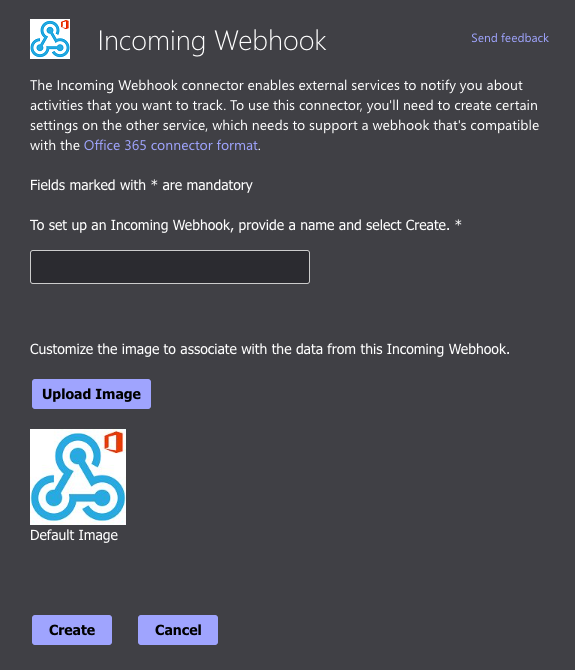
After giving your webhook a name, and optionally an icon, you should be presented with a webhook URL. Copy this URL and keep it somewhere safe as we will need this for our Lambda function to send notifications to your Teams channel.
Step 4. HTTP POST Request to your Teams Webhook
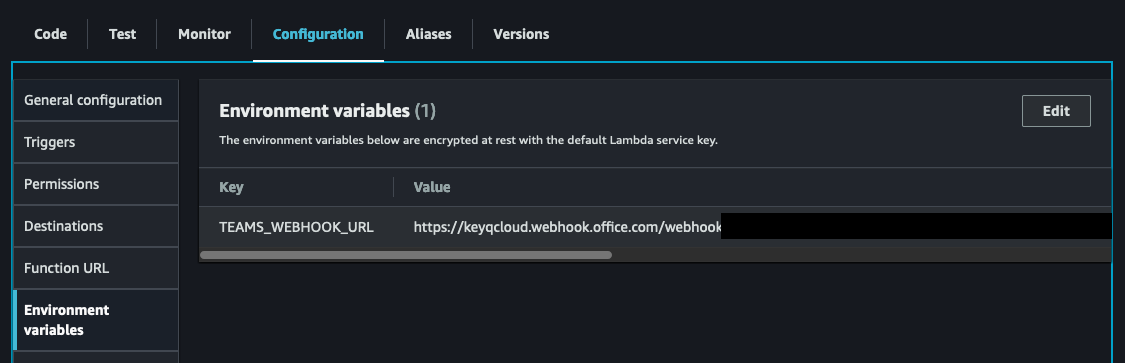
Now that you have your webhook URL, return to the Lambda function we previously created. We will be adding your Teams webhook URL as an environment variable to your Lambda function. Click on Configuration then Environment Variable. Click 'Edit' to add a new environment variable for your webhook.
Next, add the following code to your Lambda (gist link available too):
Once you've copied the code over, make sure to click 'Deploy' so that the most recent version of the code is ready. At this time, we can test our Lambda function to make sure it is able to send notifications to our Teams channel, but we can do the same notification test through the SNS topic we just created.
Step 5. Subscribe the Lambda Function to SNS
Before we navigate over to the SNS topic we just created, copy the ARN for your Lambda function. We will need this ARN to subscribe the Lambda function to our topic. Once you have the ARN copied, navigate to the SNS topic and click 'Create subscription'.
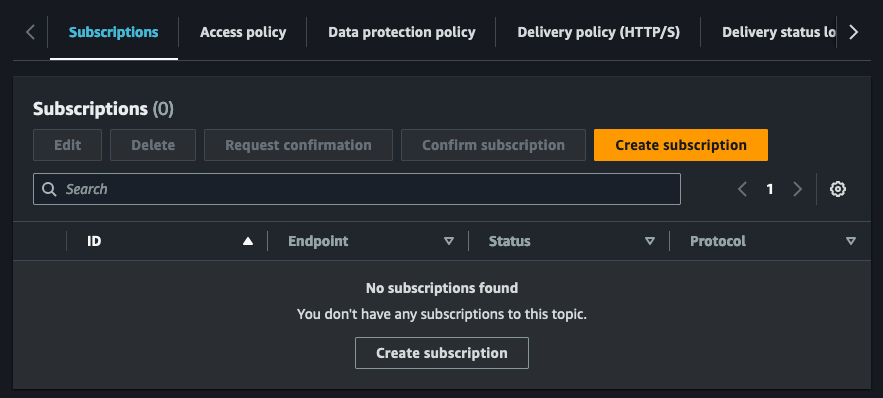
In the create subscription page, select AWS Lambda as the protocol and paste the ARN for your Lambda in the Endpoint textbox.

Once the subscription has been created, we can test the integration. From the SNS topic detail page, click 'Publish message'

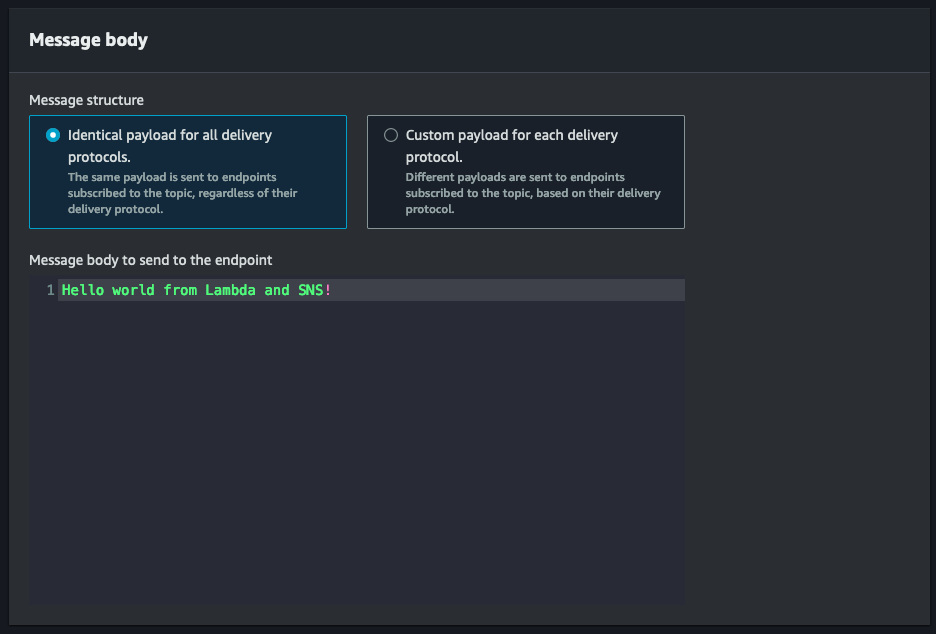
Once the publish message page appears, there is no need to worry about the subject. We can directly focus on the message itself. Our current setup does not include the subject in the Teams notification, but rest assured, you have complete control over the message content and behavior of the Lambda function. You can customize the granularity of the message being delivered to your Teams webhook, ensuring it meets your specific needs and requirements.

In the message body, supply some sort of message you want to show up in your Teams channel. In my example, I have "Hello world from Lambda and SNS!"
After clicking the publish message button, you can expect to receive a notification in just a matter of seconds to a minute. Take a look at the screenshot below to see how the body of the message will be displayed in the notification. As mentioned earlier, don't forget that you have the power to customize both the format and the content by simply modifying the python code of the Lambda function.

And voila! You've successfully linked an SNS Topic with your Microsoft Teams channel, my friends. I hope this tutorial has been useful in helping you streamline your communication and stay up-to-date with important alerts and notifications. By integrating AWS SNS with Microsoft Teams, you have opened up a world of possibilities for seamless information sharing. Whether you're managing critical system updates, monitoring event notifications, or simply staying connected with your team, this integration will undoubtedly enhance your workflow efficiency.
Stay tuned for more technical articles as we continue to explore AWS and various cloud integrations. Our goal is to provide you with valuable insights and practical guidance to optimize your use of these powerful platforms. So, keep an eye out for future articles where we'll delve into other integrations, share coding tips, and offer innovative solutions to further enhance your collaboration and productivity.